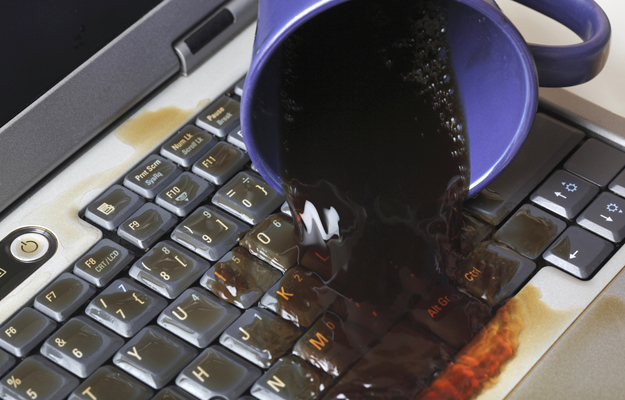
Spilling a liquid on your laptop isn’t necessarily the end of the world. Minimize the damage by following our tutorial to rescue your laptop from a watery doom.
So you’ve spilled something on your laptop. Whether you put your glass down too close to your computer, or were using it to play music at a party and your Elaine dance didn’t go as planned, you unfortunately may be reading this article frantically on your phone while trying to figure out how to save your precious laptop from the liquid you just spilled on it.
It’s important to note that if your laptop gets wet, time is of the essence. You must turn it off, unplug it, and remove the battery at once. Every second counts. Do not bother to take the proper steps to turn it off, either – go ahead and press that power button until your machine shuts down. Next, follow our tutorial, and accept the hard truth that your computer will be out of commission for about three days.
In case of wet-laptop emergency
1. Remove all components that are easily detachable – Unplug your mouse and any cables, and remove any flash drives and DVDs. Leave your laptop bare.
2. Dry the outside of your machine – Immediately open your laptop as far as it goes, hold it upside down, and wipe dry any wet surfaces that you see with a towel or another lint-free absorbent fabric. The type of liquid matters: water is the least corrosive, while sugary and alcoholic liquids are the most harmful. Either way, the goal is to mitigate their effects as much as possible by drying the computer immediately.
At this point, there’s two ways to go. On the one hand, you can hurry it to a computer repair shop; on the other hand, you can try to fix it yourself. If you want to take the DIY approach, act at once and improve your chances of salvaging your laptop from the accident and follow the remaining steps. Remember that if your machine is still covered by the manufacturer’s warranty, opening the case may void the warranty. You may want to take advantage of your warranty period if it’s still going.
Also, we should note that neither Digital Trends nor the author accept any responsibility for damage caused to your machine from taking it apart. Here we go…
Break it down
1. Strip it down – This is where it gets tricky, but stick with it. We’re going to help you take your machine apart to see how much damage has been done. If you haven’t already, remove your battery. Next, remove your keyboard, top panel, drives (hard and optical), memory modules, and of course the motherboard. If you’ve got a manual lying around, make friends with it. But if you don’t, we’ve got you covered:
- Acquire a small Phillips screwdriver and a butter knife or other small, flat, and thin tool. We will use the screwdriver to take out screws and the butter knife to take off the covers.
- Many machines will let you pry off the cover between the keyboard and the screen. If your machine fits this profile, go ahead and remove any screws that you see with the screwdriver (check the screen hinges too). Be gentle in case your machine has a data cable in the back so as not to damage or rip it off in the process.
- Once loosened, carefully pull off the cover/trim using the butter knife if needed. Refrain from using excessive force. If the trim doesn’t snap off with ease, check for remaining screws especially along the top of the keyboard. If it is being held in place by a cable, attempt to remove the cover without causing damage to the cable.
- Pull off the keyboard while being careful with the cable. Unfasten the data cable connector (try to flip up its latch, which should be small). Set the keyboard aside.
- Move on to the motherboard. If it looks fully dry, stop there. If it’s wet, you’ll want to disassemble it. First, put on an anti-static wristband to prevent emanating electrostatic discharge (ESD) that could destroy your machine. Second, unplug any cables left that connect the internal components you see to the motherboard. Remove the screws and unplug the cables attaching the motherboard to the power board.

2. Dry it off – Examine each component you’ve removed to check for any sign of wetness or corrosion. Any wet parts should be dried, but if the liquid is anything other than water, you’ll want to wipe it off (you can use a cotton swab) with 99 percent isopropyl alcohol – this will dissolve gunk without causing damage and evaporate without leaving residue. If you see corrosion, grab a toothbrush, dip it in the alcohol, dry off the excess liquid, and begin cleaning off the signs of corrosion. For the screen, make a mixture of 50 percent alcohol and 50 percent distilled water (tap water will leave mineral deposits behind that could lead to electrical shorts), and use the softest cloth you can find (e.g., flannel) to gently dry the screen.
You can speed up the evaporation of alcohol by blowing canned air on your components. Once you’re done, you’ll want to leave it all alone to air-dry for two to three days in a warm, dry area. Remember that a fan will hasten the drying process. Do not use a hair dryer, as this could cause static problems.
3. Dress it back up – Once you’ve picked your machine apart, dried all the components, and given them time to dry, you can follow the instructions in reverse to put your laptop back together and see if it works. Hopefully, all will be well. At this point, you’ll want to take it to a repair center if your laptop malfunctions. Even if it works, depending the type of liquid spilled, your keyboard might be permanently damaged and may need to be replaced. You can then look up what keyboard you need for your particular brand and model of laptop, buy it online (they usually go for $30 to $60), and either take it to a store for reassembly, or (more fun and less expensive) put it on yourself following our instructions in reverse.
If you want to try salvaging your keyboard, you can try washing it in a sink with warm water and soap, and letting it dry for at least a week before reinstalling it.
If your laptop cannot be taken apart
What if you have a MacBook Air or another laptop that refuses to be taken apart? This situation drastically reduces your options, so you’ll have to take it to a repair center.
Between the time that liquid is spilled on your keyboard and the time that you take it to the store, here’s what you can do: just like in Step 2 above, hold your machine upside down, wiping dry any visible wetness with a towel. Then, lay it down on a dry surface – an excellent option is a large bag of rice because rice is absorbent enough to help draw out any liquid that made its way inside through the crevices of your keyboard. Use a big bag, a lot of rice, and place it all in a warm, dry room. Feel free to turn on a fan to speed the process along until the time when you can carry your laptop to an Apple repair store.
Waterproofing options
You can purchase the following gadgets to safeguard your computer from future liquid mishaps: a silicone or clear plastic keyboard cover, a waterproof laptop skin for the top and bottom halves of the case, and a waterproof laptop screen protector. You can also carry your laptop around in a waterproof laptop backpack. Be careful not to cover any ventilation holes, however, and use scissors to cut the skin if necessary to ensure that your ventilation holes are left free.
That’s it! We wish you luck in transforming your soggy laptop back into a dry and fully functional macine.
Image via artifishall
Source : digitaltrends[dot]com


Post a Comment